1. Preparation :
– Cleaning the Vehicle: Begin by thoroughly washing the vehicle to remove dirt, grime, and any contaminants. This often involves using a clay bar to eliminate embedded particles in the paint (Installation PPF).
– Drying: Once cleaned, the vehicle should be dried completely to prevent any water spots or moisture from being trapped under the film.
2. Inspection:
– Surface Check: Inspect the vehicle’s paint for imperfections like scratches, chips, or swirl marks. Any paint damage should be corrected before PPF application, as the film will highlight imperfections.
3. Material Selection:
– Choosing the Film: Select the appropriate PPF based on your needs (glossy or matte finish, thickness).
4. Cutting the Film:
– Custom Templates: Use pre-cut templates or pattern software to cut the PPF to fit specific areas of the vehicle, such as the hood, fenders, mirrors, and bumpers. Precision is key to ensure a proper fit.
5. Application of the Film (Installation PPF):
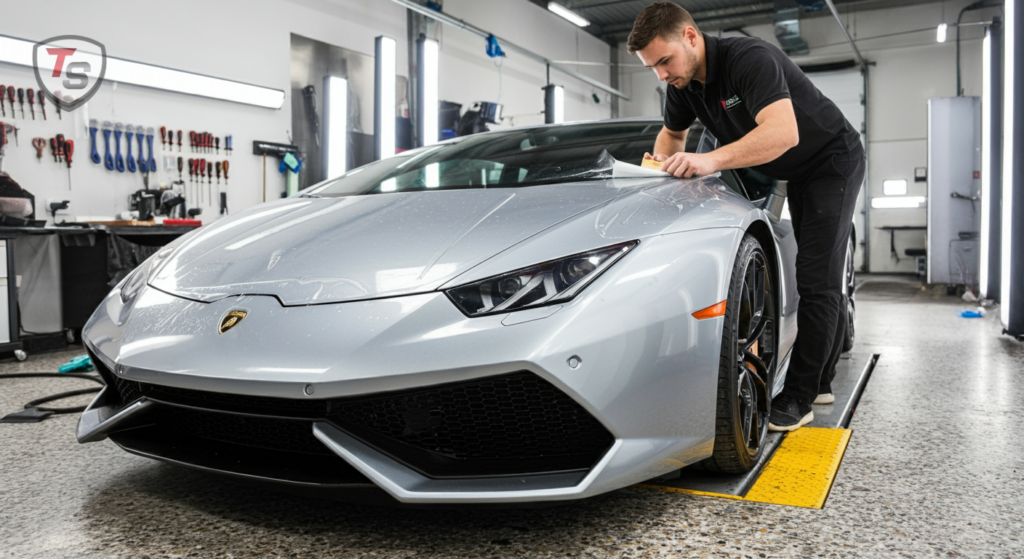
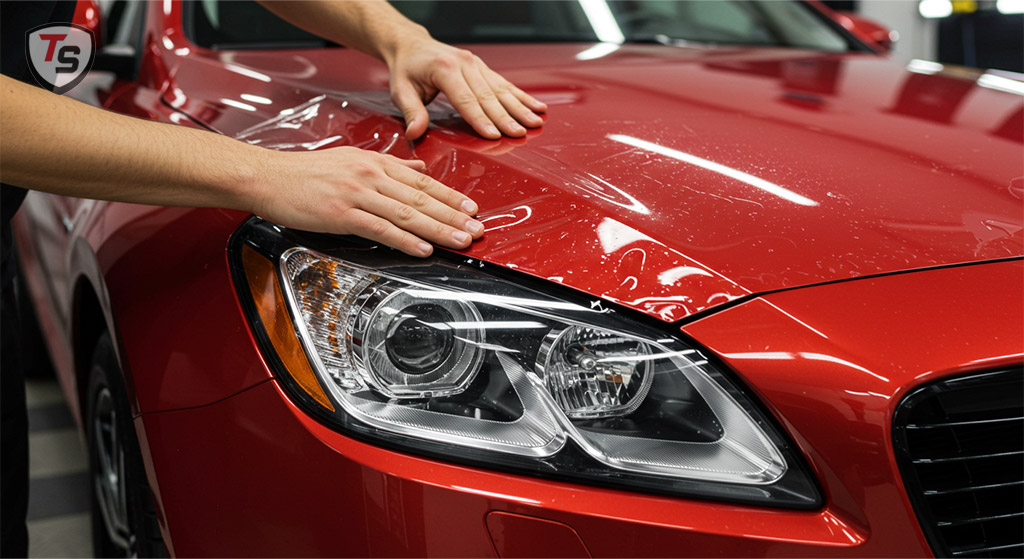
– Positioning: Position the cut PPF over the designated areas of the vehicle. Most installers use a slip solution (a mixture of water and soap) to help position the film correctly without sticking prematurely.
– Squeegeeing: Once in place, use a squeegee to smooth out the film and remove any air bubbles or excess solution. This step requires careful attention to avoid trapping bubbles under the film.
– Heat Activation: Some films may require heat activation to conform properly to the vehicle’s curves. This is typically done using a heat gun or infrared lamp to warm the film, allowing it to stretch and adhere more effectively.

6. Trimming (Installation PPF):
– Final Adjustments: After the film is applied, any excess material is trimmed away using a sharp blade. This is done carefully to ensure clean edges and a professional finish.
7. Sealing Edges:
– Edge Treatment: To prevent lifting or peeling, the edges of the film may be sealed using a specialized adhesive or by tucking the film underneath itself in certain areas.
8. Curing (Installation PPF):
– Setting Period: Allow the PPF to cure, which can take up to a few days. During this time, avoid washing the vehicle or exposing it to harsh conditions to ensure proper adhesion. Some installers may use infrared lights to speed up this process.
9. Final Inspection:
– Quality Check: Once the curing process is complete, perform a final inspection to ensure the film is properly applied, with no bubbles, wrinkles, or imperfections.
Post-Installation Care
– Maintenance: After installation, it’s essential to maintain the PPF by washing it regularly with mild soap and water. Avoid abrasive materials that could scratch the surface and prevent the use of waxes or sealants designed for glossy finishes.
The entire installation process can vary in time depending on the vehicle size and complexity, generally taking a few hours to a full day. Professional installation is highly recommended to ensure a perfect fit and lasting protection.


